Hematology

Hematology focuses on the study of blood and its disorders. It includes blood cell analysis, bleeding and clotting tests, and conditions like anemia, leukemia, and thalassemia. Crucial for diagnostic labs and transfusion centers.

Hematology

Top 5 Common Anticoagulants in Laboratory Practice: EDTA, Heparin & More

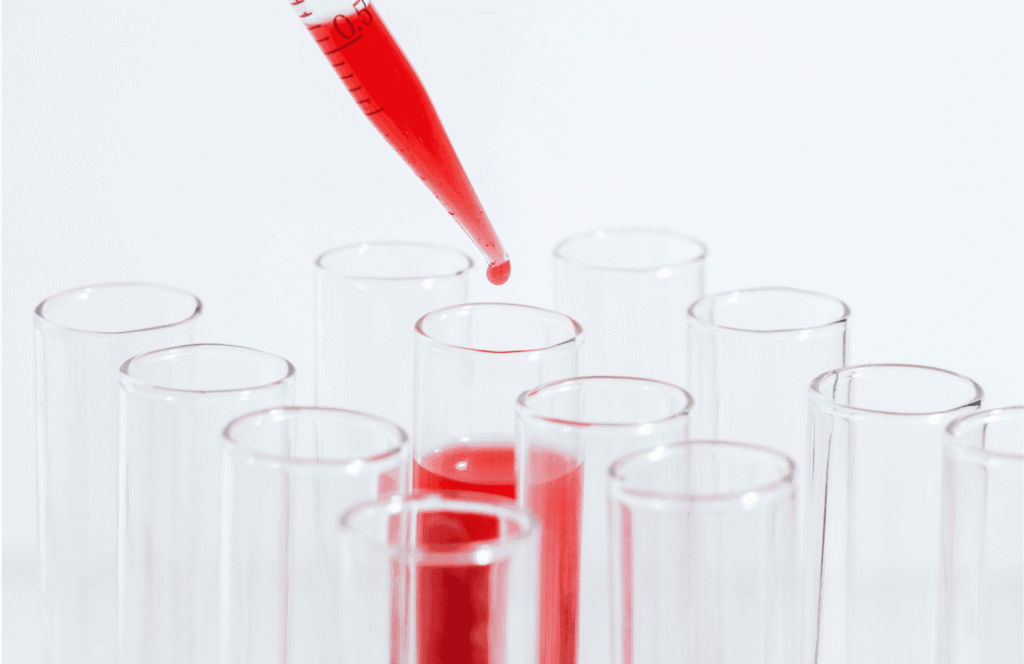
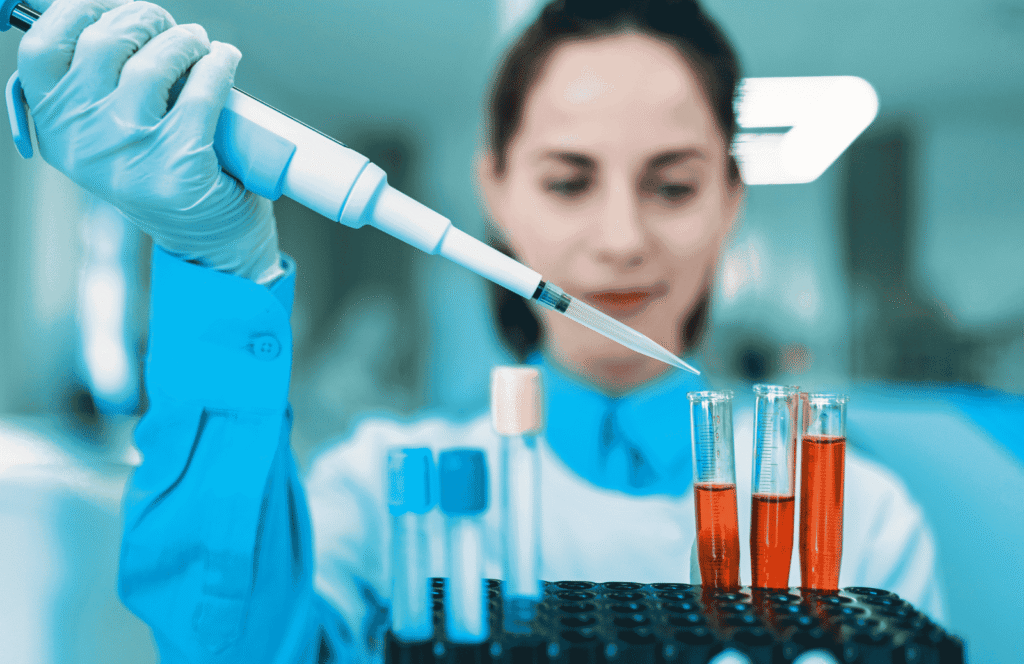
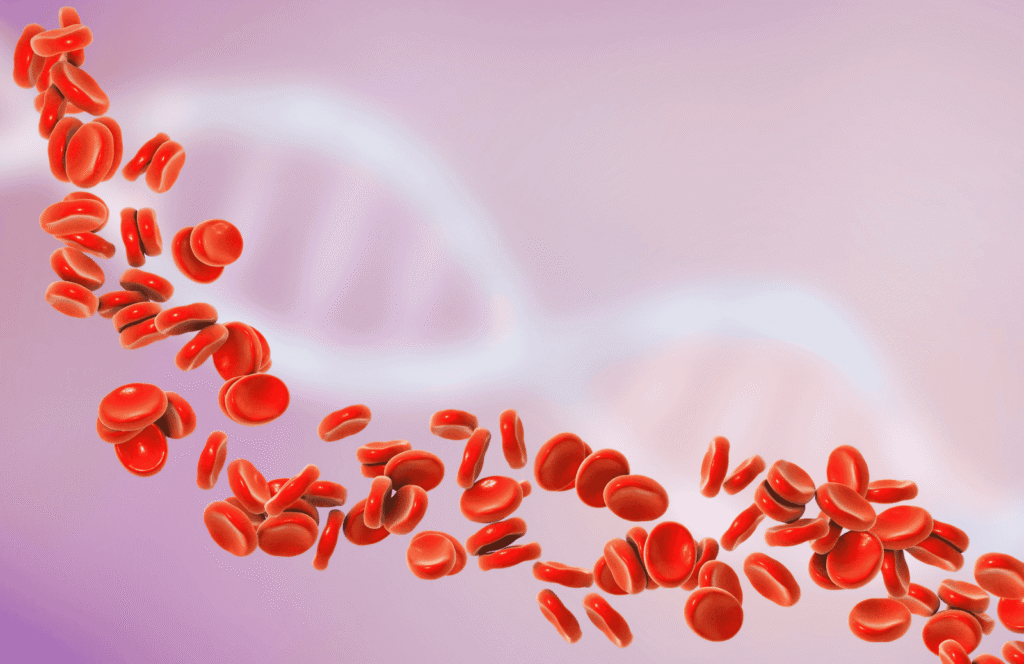
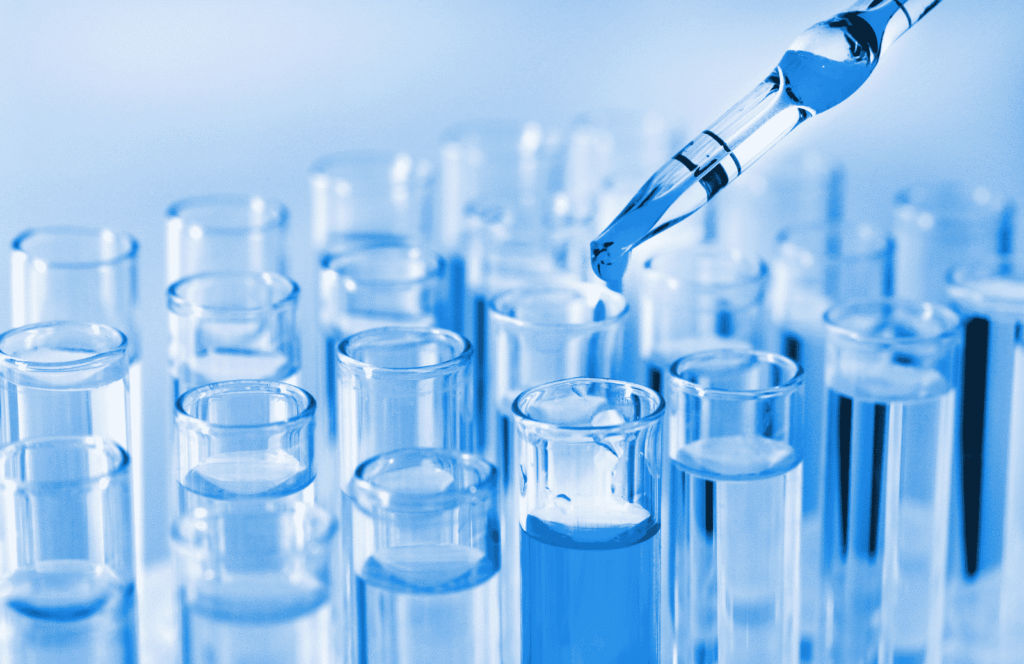
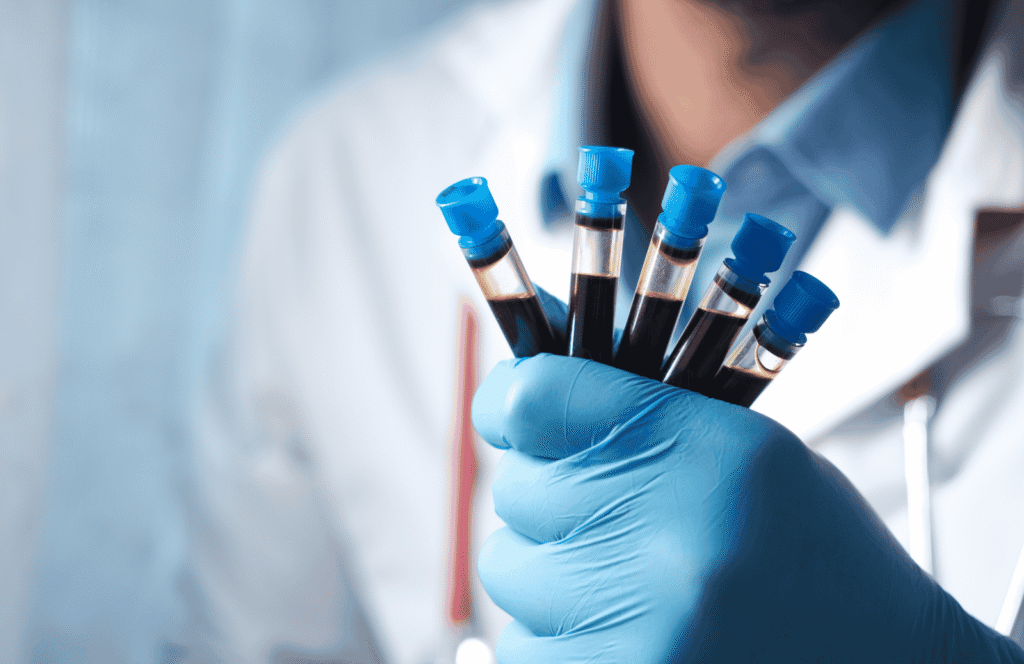
The anticoagulant prevents the clotting of blood. It is used in medical laboratories complete blood or plasma is required, depending upon the test to be done, the type of anticoagulant is decided. Most anticoagulants prevent clotting by removing calcium or iron, which are necessary for the clotting process. Every anticoagulant is added in fixed amount to blood. Anticoagulants are of following types: A – Chemical Anticoagulants These anticoagulants are prepared in the laboratory. These are as follows. Sodium Citrate CPD – Citrate phosphate dextrose EDTA – Ethylene diamine tetra acetic acid Oxalate Sodium Fluoride  (I)  Citrate:- Trisodium citrate –This anticoagulant is prepared by dissolving 3.8 g of trisodium citrate in 100 ml of distilled water. 0.4 ml anticoagulant is required for 2.0 ml of blood.Adding dextrose to anticoagulants provides nutrition to the red cells and helps in longer storage. Such anticoagulant is known as Acid Citrate Dextrose (ACD) because along with citric acid, trisodium citrate and dextrose are mixed in this anticoagulant. This anticoagulant is used in the solution form, as it is in the blood bank. The storage of blood with this anticoagulant is a maximum up to 21 days. (ii) CPD (Citrate Dextrose) In this anticoagulant, the citrate is dissolved in phosphate buffer, which maintains pH more accurately than ACD solution. The dextrose present in this provides nutrition to other cells. The storage period of CPD is 21 days. The disadvantage is that it is costly and difficult to prepare and adjust ph. (iii) EDTA (Ethylene Diamine Tetra-acetic Acid) It can be prepared by dissolving 10 gm of EDTA in 1000 ml of distilled water. 0.4 ml of anticoagulant is required for 2 ml of blood. This anticoagulant does not disturb the cellular structure. Therefore, it can be used for blood cell count, ESR, estimation, etc. EDTA however, cannot be used for biochemical tests. This anticoagulant is dried in the container by keeping in an incubator or hot air oven at 80 OC for an overnight period, i.e. for 12 hrs. The storage period with EDTA is 2 to 3 days. EDTA Advantage It is a powerful calcium-chelating agent. Used in concentrations of 1.5 to 2.0 mg (anhydrous) per ml of blood Dipotassium salt is preferred over disodium salt. Blood collected in EDTA can be used for TLC, PS preparation, Hb and DC. Disadvantage Excess of EDTA causes shrinkage of WBCs and RBCs and induces degenerative changes. It is unsuitable for coagulation studies. EDTA blood fails to demonstrate basophilic stippling of RBCs in lead poisoning. Activates naturally occurring antiplatelet autoantibodies, which cause platelet adherence to neutrophils.   (iv) Oxalate It is prepared by dissolving 1.2 gm of ammonium oxalate and 0.8 gm of potassium oxalate in 100 ml of distilled water.  0.2 ml (4mg) of anticoagulant is required for 2 ml of blood. This anticoagulant may disturb cellular structure if kept for a longer period; however, if used immediately, it can be used for the estimation of bilirubin, and prothrombin time, and estimation of blood cells, PVC (Packed cell volume). This anticoagulant is dried in a container by keeping it for an overnight period in a hot air oven. It is also called double oxalate.   (v)Sodium Fluoride It complexes with calcium to form calcium fluoride. 6 mg is used for 6 ml of blood. It is useful in the estimation of blood glucose levels (Fluoride prevents glycolysis by blocking phosphorylase enzymes in RBCs).   Biological (Natural) Anticoagulant – Heparin Heparin is the only biological anticoagulant, which cannot be prepared in a laboratory. It is obtained from leech. It is a good anticoagulant and does not alter size of RBC. It is used in concentration of 10-15 units / ml blood. This anticoagulant act by destroying thrombin or thromboplastin required for clotting. Heparin is used to determine the blood gases. It can be used for ESR, PVC, osmotic fragility and other hematological tests. Note:- Anticoagulant should be sterilized before use, and then blood is added to the anticoagulant, it should be mixed gently by inverting it 10 to 15 times or shacking it gently

Hematology

Improved Neubauer’s Chamber: How It Works, Grid Design & Clinical Use

A Neubauer chamber is an important tool in the field of hematology and cell biology. It is a specialized counting chamber designed for the manual counting of cells, such as blood cells or sperm cells, under a microscope. Here are some key aspects related to Neubauer chambers: Grids:The Neubauer chamber has a central counting area and four corner counting area divided into grids. These grids help in systematic counting of cells. Cover Slip:The counting chamber is covered with a glass coverslip, which is essential for creating a consistent depth for the cells to be examined. Chamber Depth:The chamber has a specific depth 0.1mm that allows for an accurate volume of the sample to be loaded. Uses:Neubauer chambers are commonly used for manual cell counting, such as red and white blood cells, sperm cells, or any other cells present in a liquid sample.Concentration Calculation: Cleanliness: Keep the Neubauer chamber and coverslip clean and free from dust or debris. Clean them with a mild detergent and rinse thoroughly with distilled water.  

Hematology

What Are RBC and WBC Pipettes?

RBC Pipette The RBC pipette is generally known as the thoma pipette or diluting pipette used for the dilute of blood in ratio of ‘1:100’ or ‘1:200’ for the Hemocytometer. The main use of the RBC pipette is as a liquid dispenser. It has been used in hematology laboratory. There is a red color bead present in this pipette bulb and it has marking of 0.5, 1 and 101. WBC Pipette WBC pipette has white bead in the bulb and it has marking of 0.5, 1 and 11. Used for the dilute of blood in ratio of ‘1:20 for the Hemocytometer. Cleaning RBCs & WBCs Pipette Cleaned by filling the pipette with distilled water and blowing it out twice. Finally, it will be filled with acetone or alcohol and blown out. Acetone or alcohol removes the water from it and dry it completely.

Hematology

Micro-Pipette: Types, Uses, and Handling Techniques in the Laboratory

Micro-Pipette A micropipette is an essential laboratory instrument used for accurately measuring and transferring small volumes 1ml or less than 1ml of liquid. The three important parts of a micropipette are the plunger button, the volume adjustment dial, and the disposable tip. Plunger Button: The plunger button is pressed to aspirate (draw in) and dispense (release) the liquid. It is important to press the plunger button smoothly and steadily to avoid introducing air bubbles into the liquid. Volume Adjustment Dial: This part allows users to set the desired volume for aspiration and dispensing. It is crucial to set the volume accurately according to the requirements of the experiment. Disposable Tip: The tip is a crucial part of the micropipette. It comes in various sizes and should be selected based on the volume to be measured. Tips are disposable and should be changed for each new sample to prevent cross-contamination. Uses of Micro Pipettes: Micropipettes are commonly used in various scientific and medical applications, including: Molecular Biology: Used for DNA, RNA, and protein analysis. Clinical Diagnostics: Used for handling small volumes of blood, serum, or other biological fluids. Microbiology: Used for culturing and transferring small volumes of microbial samples. Chemistry: Used for preparing solutions and measuring reagents. Caring for Micro Pipettes: Proper care is essential to maintain the accuracy and longevity of micropipettes: Calibration: Regularly calibrate the micropipette to ensure accurate volume measurements.  Tip Usage: Use high quality, compatible tips, and change them for each new sample. Cleaning: Clean the external surfaces regularly with a mild detergent or disinfectant. Avoid Overloading: Do not exceed the maximum volume limit specified for the micropipette. Handle with Care: Avoid dropping or banging the pipette, as it can affect its accuracy.

Hematology

Hemoglobinometer (Sahli’s Method): A Complete Guide for Lab Technicians

Hemoglobinometer (Sahli’s Hemoglobin meter)) Importance: Hemoglobin Measurement: Sahli’s hemoglobin meter is crucial for determining hemoglobin concentration in a blood sample. Hemoglobin is a protein in red blood cells that carries oxygen from the lungs to the rest of the body. Components: Sahli’s Tube: A graduated glass tube used to measure the volume of blood. Diluting Pipette: Used to dilute the blood sample. Color Comparator: A color scale for matching and determining the hemoglobin concentration. Glass Rod: Used for mixing of blood & 0.1N HCL. Caring: Cleaning: Regularly clean the Sahli’s tube and other components to ensure accurate readings. Calibration: Calibrate the instrument regularly to maintain accuracy. Storage: Store the hemoglobin meter in a cool, dry place to prevent damage.

Hematology

Staining Jars: Types, Uses, and Handling in the Medical Laboratory

Staining Jars: Staining jars are essential tools in a hematology lab, where they are used to stain blood smears for microscopic examination.  Jars or Containers: These are usually made of glass or plastic and are designed to hold the staining solutions. Lids or Covers: To prevent evaporation of the staining solutions and to avoid contamination.  Racks or Trays: Inside the jars, there are racks or trays to hold slides containing blood smears. Uses of Staining Jars in Hematology Lab: Cell Staining: The primary purpose is to stain blood cells, allowing for better visualization under a microscope. Staining helps differentiate between various blood cells (red blood cells, white blood cells, and platelets) and identify any abnormalities.

Hematology

Test Tubes: Types, Uses, and Importance in Medical & Science Laboratories

Test Tubes: Material: Test tubes are typically made of glass, although plastic test tubes are also available for certain applications. Shape and Size: They are cylindrical in shape, rounded bottom and come in various sizes. The common sizes include small, medium, and large, with diameters ranging from a few millimeters to a few centimeters. Small Test Tubes: Length:           75 mm to 100 mm Diameter:       10 mm to 16 mm Medium Test Tubes: Length:           100 mm to 150 mm Diameter:       16 mm to 20 mm Large Test Tubes: Length:           150 mm to 200 mm Diameter:       20 mm to 25 mm Extra-Large Test Tubes: Length:           200 mm and above Diameter:       25 mm and above Heat Resistance: Glass test (Borosilicate) tubes are generally heat-resistant and can withstand exposure to flame. This makes them suitable for various laboratory experiments that involve heating substances. Graduations: Some test tubes may have graduations (measurement markings) to allow for precise volume measurements. Uses: Mixing and Stirring: Test tubes are often used for mixing small quantities of substances. They can also be used for stirring solutions. Heating: They are suitable for heating substances over a Bunsen burner or in a water bath due to their heat-resistant nature. Chemical Reactions: Test tubes are commonly used to perform small-scale chemical reactions. They provide a controlled environment for observing reactions. Storage: Test tubes can be used to store small amounts of liquids or substances for short durations. Culturing Microorganisms: In microbiology, test tubes are used for culturing and growing microorganisms. Qualitative Analysis: Test tubes are often employed in qualitative analysis to test for the presence or absence of certain substances in a sample. Caring for Test Tubes: Cleaning: Clean test tubes thoroughly after each use. Use appropriate cleaning agents and brushes to remove residues. Drying: Allow test tubes to dry completely before storing them. Invert them on a drying rack to ensure proper drying. Before using sterile the tube at 160 oC for one hrs. in a hot air oven. Storage: Store test tubes in a designated area, away from direct sunlight and potential breakage. Handling: Handle test tubes carefully to avoid breakage. Use tongs or a tube holder when heating them. Avoiding Extreme Temperature Changes: Avoid exposing glass test tubes to extreme temperature changes, as this can lead to breakage.

Hematology

Microscope Slides and Coverslips: Types, Uses, and Handling in the Lab

Microscope Slides and Coverslips: Microscope Slides: Most slides are made of glass, but there are also plastic slides available. Glass slides are more common for high-resolution microscopy. Size and Thickness: Standard microscope slides are approximately 1 x 3 inches (25 x 75 mm) and are typically 1–1.2 mm thick. Uses: Slides are used to hold and support specimens for observation. Specimens can be mounted directly on the slide or covered with a coverslip. Properly label slides with the date, specimen type, and any other relevant information. This ensures accurate record-keeping. Coverslips: Like slides, coverslips are typically made of glass. They are thin, transparent pieces that cover the specimen on the slide. Some specimens may require mounting media (such as glycerol or immersion oil) between the slide and coverslip to improve clarity and resolution. After placing a specimen on a slide, a coverslip is gently lowered onto the specimen. It helps to reduce the risk of compression and distortion. Size: Coverslips are available in various sizes, but a common size is 22 x 22 mm. Cleaning: Slides should be cleaned thoroughly before use to remove any dust, debris, or residues. Use lens cleaning solution or alcohol and lens paper to wipe the slides. Clean coverslips using lens cleaning solution or alcohol before use to remove any contaminants. Be gentle to avoid scratches Storage: Store slides in slide boxes or slide racks to prevent breakage and contamination. Keep them in a dry and dust-free environment. Store coverslips in a clean, dry environment. Be cautious of humidity and avoid storing them in places where they might stick together.

Hematology

Wintrobe and Westergren Tubes: Types, Uses, and Differences in ESR Testing

Wintrobe & Westergren Tube The Wintrobe tube is 110 mm long with a uniform bore diameter of 3 mm. It is calibrated from 0 to 100 mm in both ascending and descending order. Westergren tube, on the other hand, is 300 mm long with a bore diameter of 2.5 mm. It is calibrated as 0 -200 mm from above to downward. Used in hematology for determining the sedimentation rate of red blood cells. This test is commonly known as the Erythrocyte Sedimentation Rate (ESR) Important Facts and Uses: Erythrocyte Sedimentation Rate (ESR) Measurement: The Wintrobe tube is primarily used for measuring the rate at which red blood cells settle in a vertical column of anticoagulated blood over a specific period. PCV or Hematocrit: A Wintrobe tube also used for PCV determination (Only Wintrobe tube) Caring for a Wintrobe Tube: Handling: Handle the tube with care to prevent breakage. It is made of glass, which can be fragile. Cleaning: Clean the tube thoroughly after each use to prevent contamination and ensure accurate test results.

Hematology

What is a Centrifuge? Functions, Uses, and Maintenance in Medical Labs

Centrifuge: A centrifuge is a laboratory device that uses centrifugal force to separate components of a liquid mixture. It works by rapidly spinning containers of liquid around a central axis, causing heavier particles to move outward and settle at the bottom, while lighter particles or liquids move towards the center. This process is known as centrifugation. Components of a Centrifuge: Rotor: The rotor is the spinning component of the centrifuge where samples are placed. It rotates at high speeds to generate centrifugal force. Centrifuge Tubes: These are containers that hold the samples. They are placed in the rotor and spin along with it. Motor: The motor powers the rotation of the rotor. Control Panel: This allows the user to set parameters such as speed and time. Safety Features: Centrifuges often have safety features like lid locks to prevent accidents during operation. Speed and Time Settings: Users must adhere to recommended speed and time settings to ensure proper separation without damaging samples. Refrigeration: Some centrifuges have a refrigeration system to maintain a low temperature during operation, crucial for preserving certain samples.  Uses of Centrifuges: Separation of Components: Centrifuges are widely used in laboratories to separate components of a sample, such as blood cells from plasma or particles from a liquid. Biomedical Research: In fields like microbiology and biochemistry, centrifuges are essential for various processes, including DNA extraction and cell culture work. Industrial Applications: Centrifuges are used in industries for processes like oil separation, wastewater treatment, and food and beverage processing.  Caring for a Centrifuge:  Regular Maintenance: Follow the manufacturer’s guidelines for regular maintenance, including cleaning and lubrication. Balancing Loads: Always load the centrifuge evenly to avoid imbalance issues that can lead to damage or failure. Inspect Rotor: Regularly inspect the rotor for signs of wear and ensure it is properly seated. Lid Safety: Ensure that the lid is securely locked during operation to prevent accidents. Emergency Stop: Know the location of the emergency stop button in case immediate cessation of operation is necessary.

Scroll to Top